In this session, we will see out first SPFx webpart i.e. Hello World
Steps to create your First SPFx Webpart
- Create a Folder on your local computer. For example, I have created a folder named SPFx Course
- Copy the path
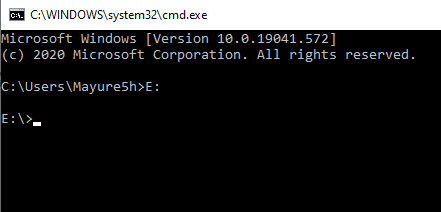
- Open the Command Prompt and navigate to the drive where you have created a folder. If you have created a folder in C drive, no need to navigate, but to navigate to other drives (ex: E drive) you can just type E: and hit enter as shown below:
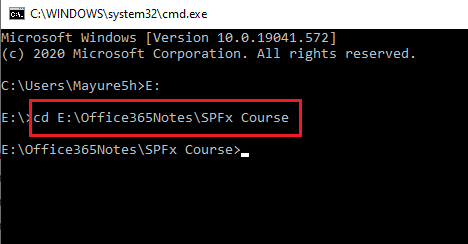
- Open the path of the folder by typing the below command. Here you need to paste the path that we copied in step in Step 2
cd E:\Office365Notes\SPFx Course

- To create a first SPFx webpart, type the below command to generate the folder structure using Yeoman Generator:
- Then it will start asking your inputs regarding the webpart as below:
What is your solution name?- Here you need to provide the name of your Solution - I used "SPFxProject"Based on your SharePoint Environment you need to choose the Baseline package:
-Here I have selected the SharePoint Online Only
Use the Current Folder or it will create a new folder with the solution name.
Then you can choose whether you want the admin to deploy the solution to all sites without running any feature deployment.-I have selected y i.e. Yes
Then you can choose whether your component in the solution requires permission to access the web APIs that are unique and not shared with other components in the Tenant
-I have selected Yes
Then it will ask whether you want to create a Webpart or Extension
-Lets first see Webpart
Then it will ask for the webpart name
-Just hit enter to keep the name as HelloWorld
Then give the webpart description
Use the framework as No JavaScript Framework for now. We will create webparts using react later in this series.
So finally it will look something as below: When you provide all the above inputs, Yeoman will start scaffolding the solution. That means it will start creating the folder and file structure that is needed for the SPFx webpart development. It will take some time to complete the process, based on your internet speed.
Once the scaffolding is done you will get a success message as below:
- Now to see the working of webpart you just need to enter the following command in the console
gulp serve
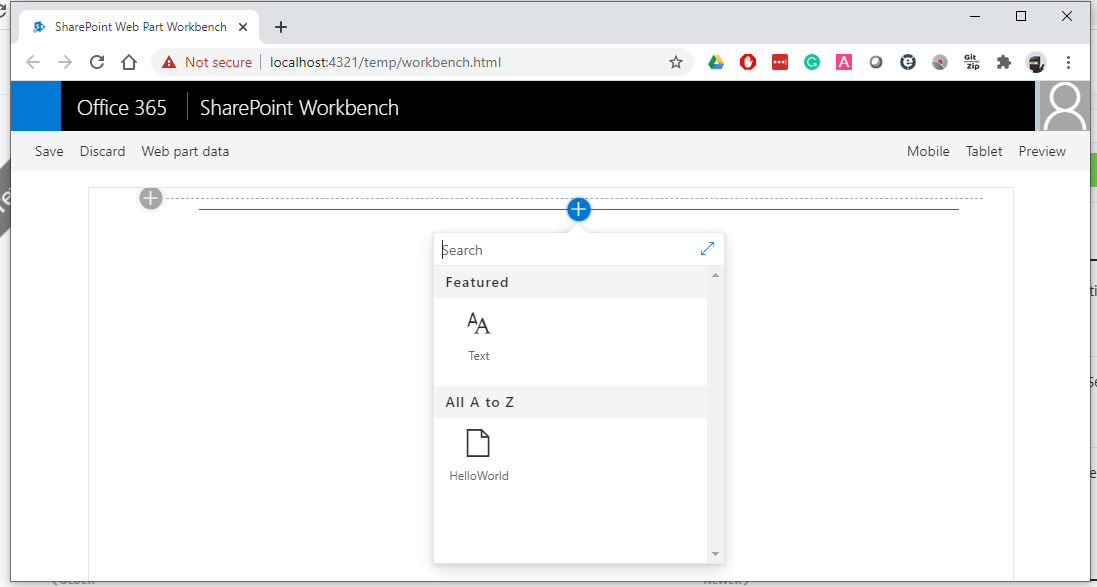
- This will execute the gulp tasks and start the webserver to run our SPFx webpart. It will open your default browser and loads the localhost:4321 and localhost:5432
- These are called local workbench where you can review and debug your webparts.
- You can see our first webpart is there when you click on the plus button
- Now from here you can add the HelloWorld webpart on the page and edit the webpart to see how it will change the text based on property given in the property pane.
- I would recommend you to watch the below video where I have explained you all the steps in detail with the working of this webpart.


0 Comments