
Introduction
In this article, we will learn how to make use of timer control to create a marquee label in PowerApps. If you need to develop a scrolling text in your canvas app, this article will help you to write a logic for the same. We will make use of a timer control to update the position of the label control.
How To Add Scrollable Text In PowerApps
Step 1: Add a timer control and a label
Add a timer control on the screen for 1 second i.e. 1000 milliseconds. Set the Repeat and Auto start property to ON. Also, add a label that we will use for scrolling.
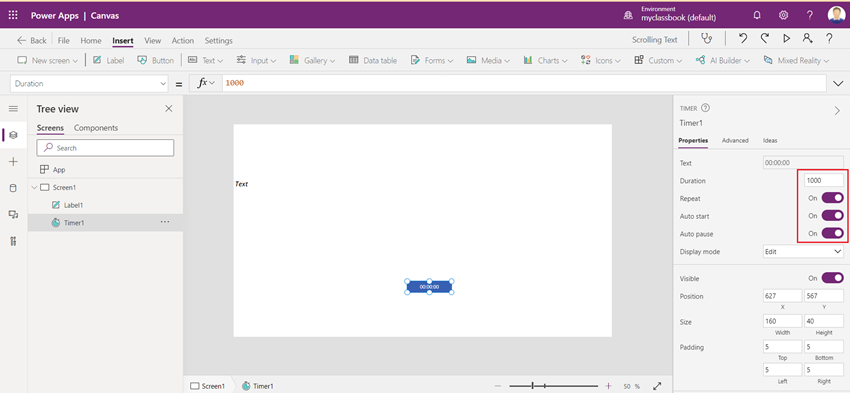
We will make use of this timer control to update the x position of a label.
Step 2: Use context variable to update the x position
On timer end property, we will update the context variable so that we can use this variable as X position of the label.
Set the OnTimerEnd property of the label to,
UpdateContext(
    {
        varMessageX: If(
            varMessageX > Screen5.Width,
            -Label1.Width,
            varMessageX + 10
        )
    }
)
Step 3: Set the X position of the label
Update the X position of the label to the context variable defined in Step 2.

This will scroll the text from left to right. If you want the scroll from right to left, update the formula to
X position = Screen1.Width - varMessageX
To increase the scrolling speed, decrease the timer duration. I have set it to 10.
You can also add the fixed width rectangle to show the static background as shown below.

Output:

I hope you have liked this article. If you have any queries, feel free to ask in the comment section. Thanks for reading.
P.S – This article was originally published at this link.

0 Comments