Introduction
When you have a large amount of data or FAQs to show on a canvas PowerApps, you can make use of accordion. We know that accordions are useful when you want to toggle between hiding and showing a large amount of content. In this article, we will learn how to develop an accordion in PowerApps. Here we are using a SharePoint list to store our questions and answers for the FAQ. You can also use a local collection as per your requirement instead of a SharePoint list. Let's see step by step tutorial on how to create a FAQ accordion in PowerApps.
Step 1 - Create a SharePoint list
Here we have a simple list named PowerAppsAccordion with only two columns, Title, and Description. Add a few questions and answers to this list. Our list will look as below:
Step 2 - Add a flexible height gallery
Our questions and answers characters' lengths will be different so we cannot use the fixed height gallery. If different items in your data set contain different amounts of data in the same field, you can completely show items that contain more data without adding empty space after items that contain fewer data.
Add and configure a Flexible height gallery control so that you can:
- Configure Label controls to expand or shrink based on their contents.
- Position each control so that it automatically appears just under the control above it.
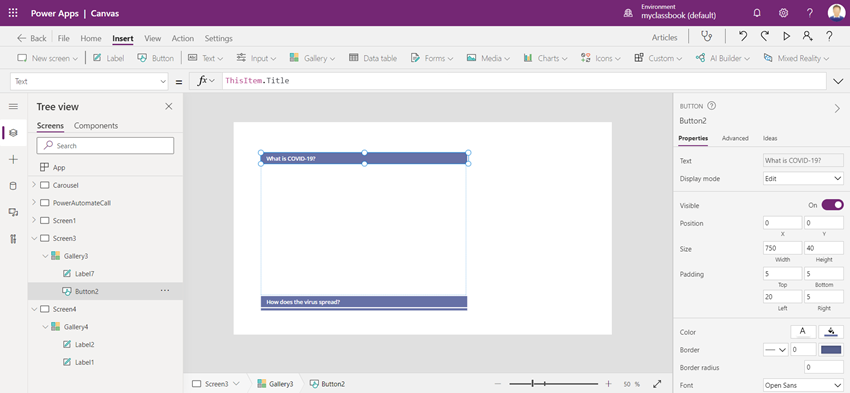
Step 3 - Add a button for the Question
- Border Radius = 0
- Border = 0
- Padding Left and Padding Right = 0
- Text = ThisItem.Title


.png)


.gif)

0 Comments